
Is your spider plant looking a bit unruly or overgrown? You were not the only one to think this! These very nice indoor plants can grow quite quickly and require regular TLC to maintain their good condition.
Pruning your spider plant means cutting off the damaged leaves, picking off the small spider plant offshoots, and cutting back the remaining growth. Doing this simple thing not only keeps your plant in good health but also makes sure it appears great.
If you have never done it before, don’t be concerned. This article will instruct you through every step so that your spider plant can really grow. With only a few minutes of care, you will get a fuller, healthier plant, which will be a nice addition to your place.
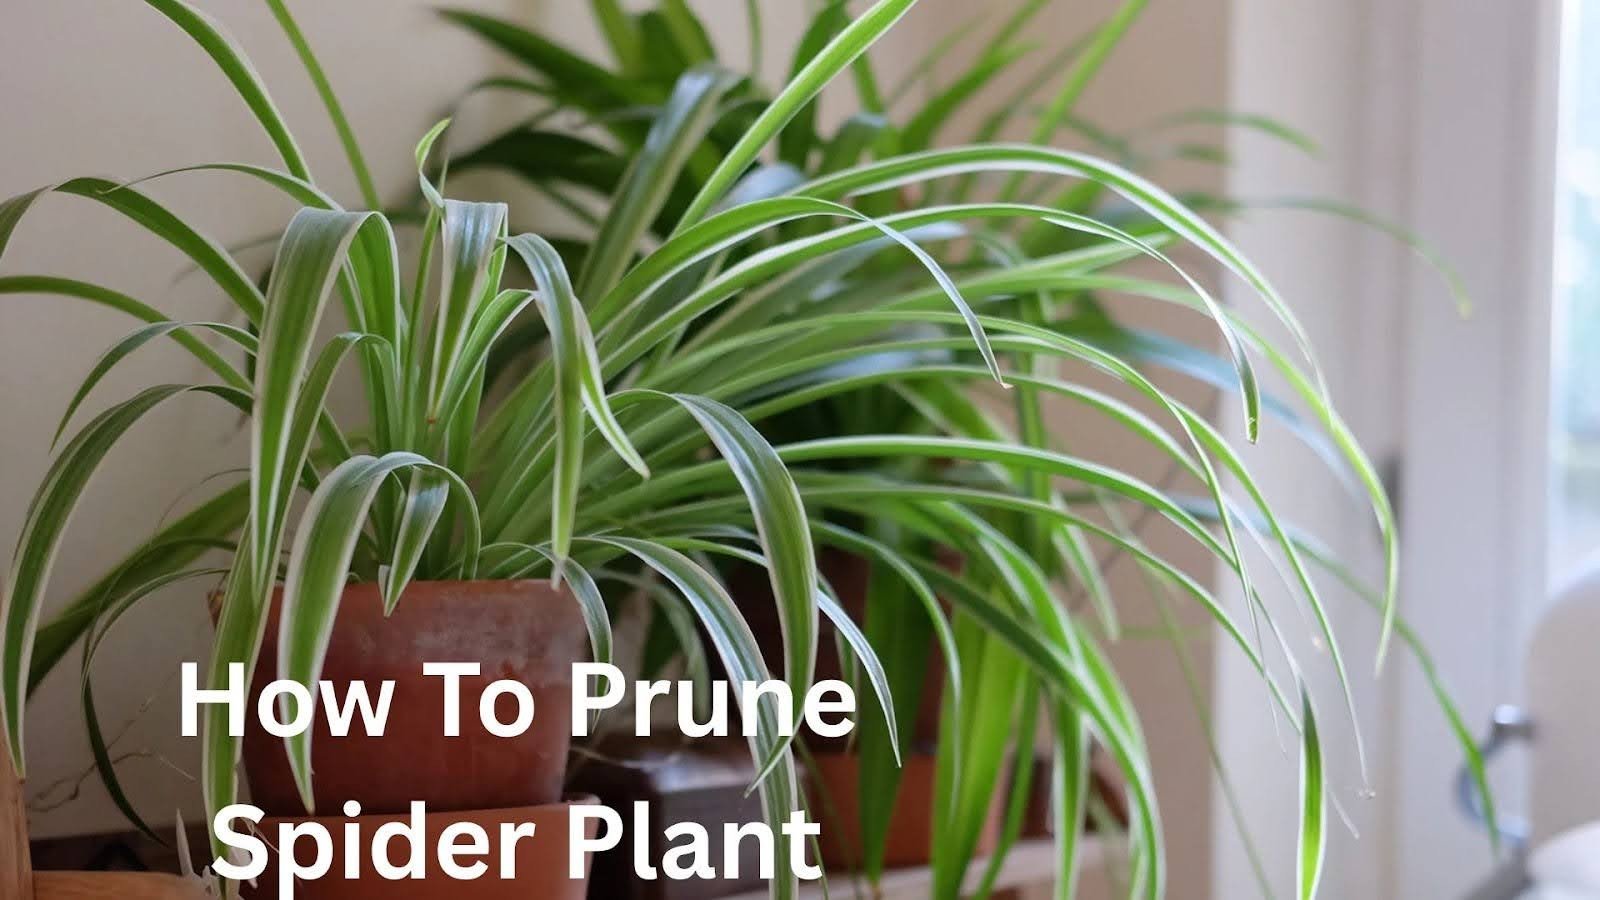
How to Prune Spider Plant: Complete Guide for Healthy Growth?
Learning how to prune a spider plant correctly helps your green friend grow stronger. Regular pruning stops your plant from wasting energy on damaged parts. Instead, it focuses on producing fresh, green leaves.
Think of pruning like giving your plant a haircut. You’re removing the old and damaged parts to make room for new growth. This process also helps control the size and shape of your plant. A well-pruned spider plant looks tidier and fits better in your home.
The good news is that spider plants are tough. They bounce back quickly after pruning. Even if you make a small mistake, your plant will recover. This makes them perfect for beginners who want to practice their plant care skills.
Basic Spider Plant Pruning Steps
Follow these simple steps to keep your spider plant in top shape and growing strong.
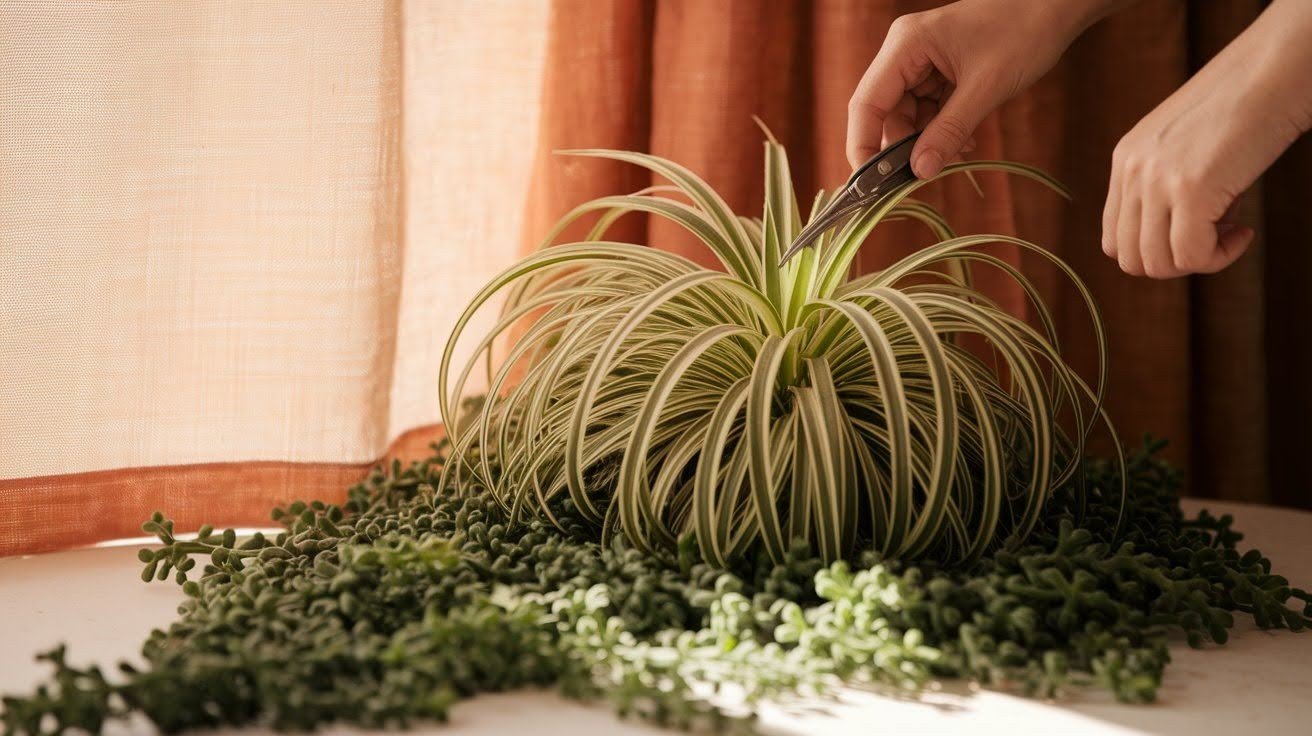
Step 1: Remove Damaged or Diseased Leaves
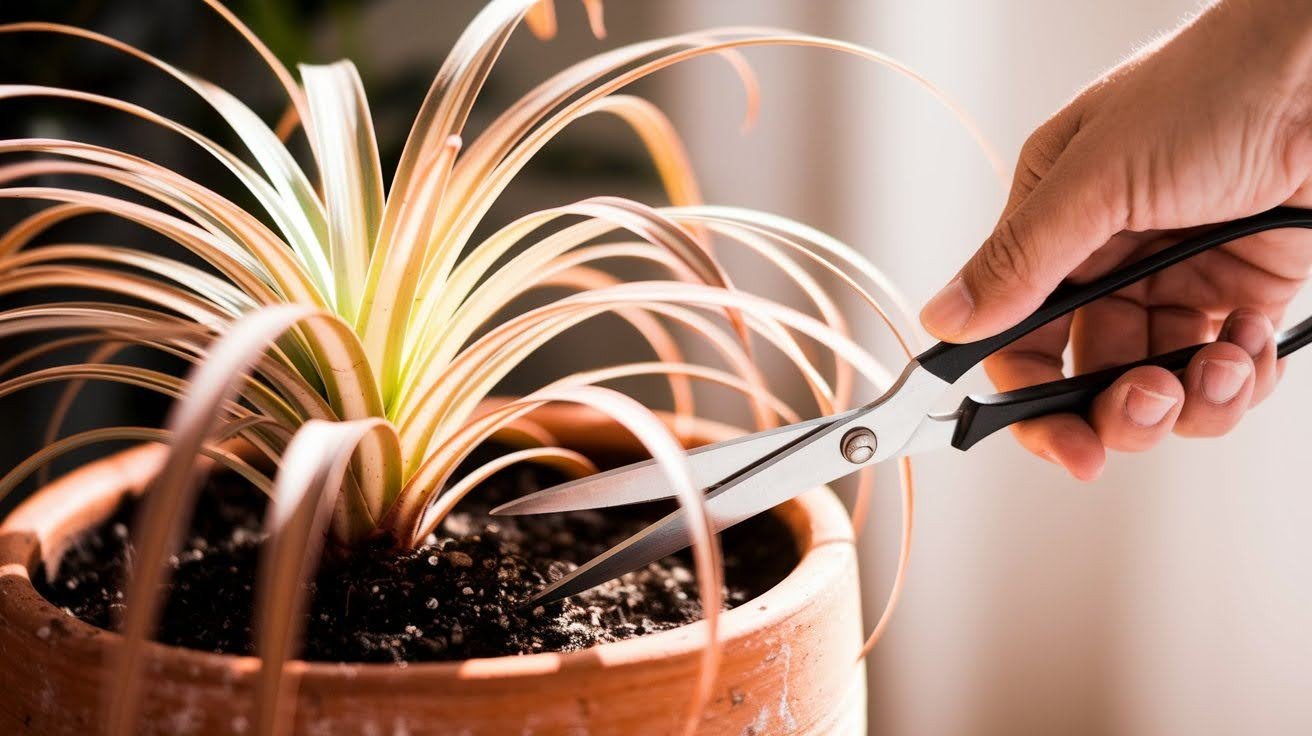
Start by looking for leaves that are brown, yellow, or have spots. These damaged leaves can’t recover and only drain energy from your plant. You might also see leaves that feel soft or mushy, which means they’re diseased.
When you find a problem leaf, grab your clean scissors or pruning shears. Cut the entire leaf off at the base where it meets the soil or main plant. Don’t just trim the brown tips and leave the rest. This is one of the most important parts of how to prune a spider plant correctly.
Cutting at the base matters because leaving partial leaves looks messy and can invite pests. The plant will still send energy to that damaged leaf stub. By removing the whole thing, you tell the plant to grow a fresh new leaf instead. This keeps your spider plant looking full and healthy.
Step 2: Trim Overgrown Foliage
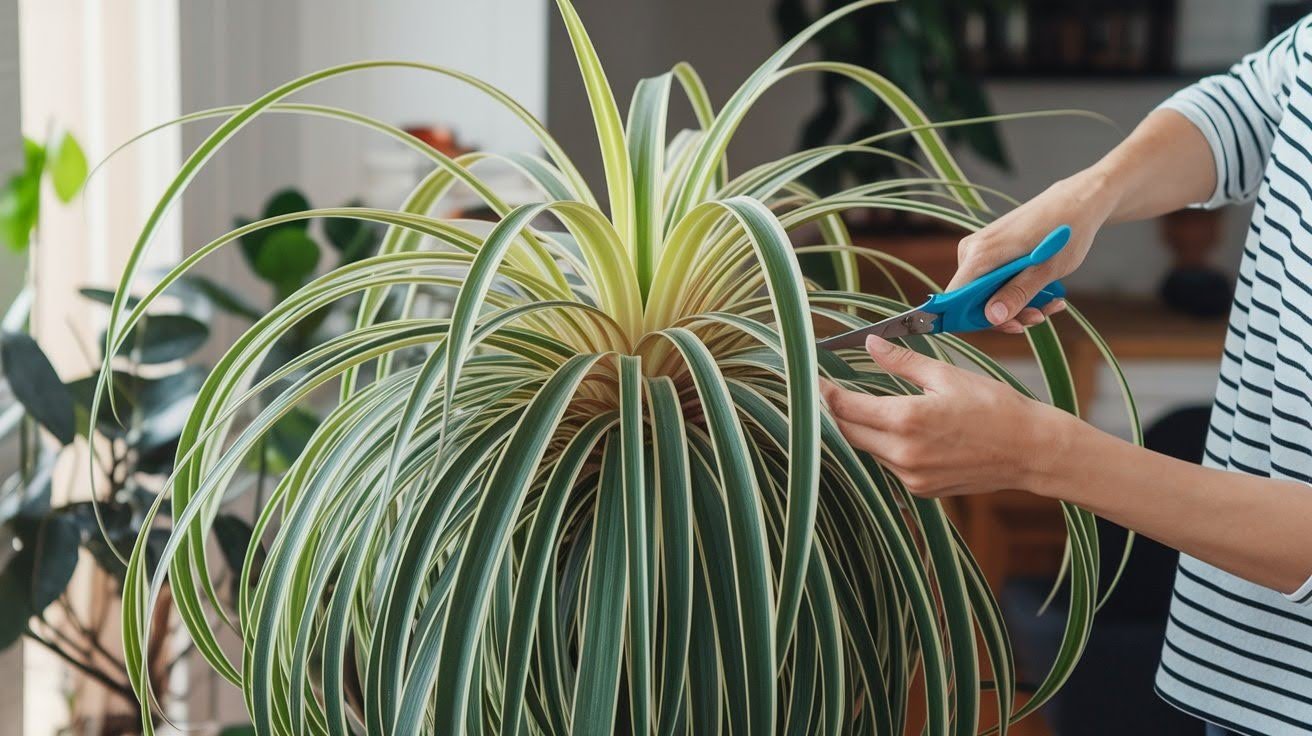
Most spider plants grow to about 12 inches wide and 12 inches tall. If yours is getting too big for its space, you can trim it back. Look for the longest or oldest leaves that stick out from the rest.
Cut these healthy leaves at their base, just like you did with damaged ones. You can remove several leaves at once if needed. Your plant won’t mind losing a few leaves, especially if it’s full and bushy. This helps maintain the size and shape you want.
After trimming, your spider plant might look a bit thin at first. Don’t worry. Within a few weeks, new leaves will fill in the gaps. Regular trimming keeps your plant at a manageable size. It also encourages the plant to grow more leaves from the center, creating a fuller look.
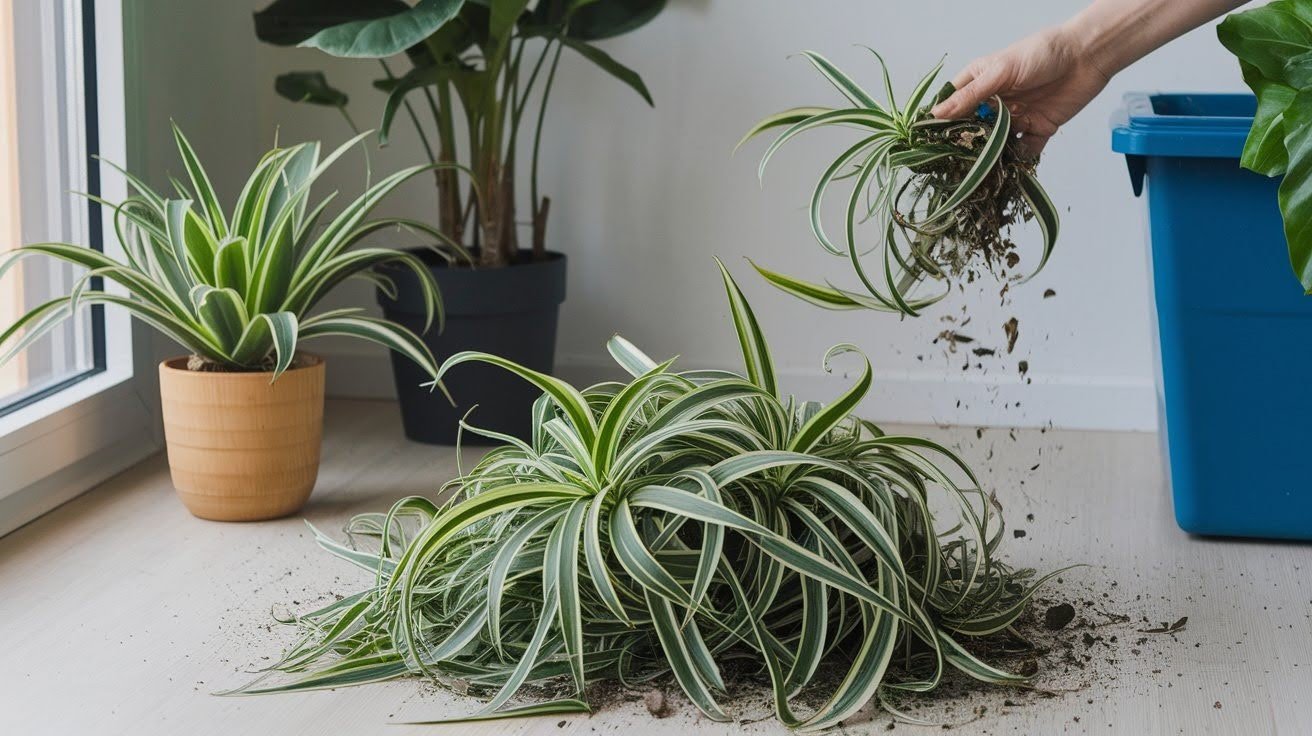
Step 3: Remove Excess Spiderettes (Baby Plants)
Spiderettes are the baby plants that grow on long stems from your main plant. They’re cute, but too many of them drain energy from the mother plant. Your plant works hard to feed all those babies, which can slow down its own growth.
To remove spiderettes, follow the long stem back to where it connects to the main plant. Cut the stem as close to the base as possible. You can save the baby plants to grow new spider plants or toss them in your compost.
Think about which spiderettes to keep and which to remove. If you want to propagate more plants, save one or two healthy babies. Remove the rest so your main plant can focus its energy on growing strong and full.
Step 4: Clean Your Tools Before and After

Always use clean, sharp scissors or pruning shears when working with your plant. Dirty tools can spread disease from one plant to another. Wipe your tools with rubbing alcohol before you start pruning.
After you finish, clean your tools again. This takes just a minute but protects all your plants. Sharp tools also make cleaner cuts that heal faster. Dull blades can crush the plant tissue and cause damage.
Keep a small bottle of rubbing alcohol and a clean cloth near your plant supplies. This makes it easy to clean your tools every time. Your spider plant will thank you with healthy growth and fewer problems.
Step 5: Dispose of Cuttings Properly
After you finish pruning, gather all the cut leaves and stems. Don’t leave them sitting on the soil or nearby. Dead plant material can attract bugs or grow mold if it stays damp.
You can add healthy green trimmings to your compost bin. However, throw away any diseased or pest-damaged leaves in the trash. Don’t compost these because the problems might spread to other plants later.
If you remove baby plants, decide what to do with them quickly. You can put them in water to grow roots, plant them in soil, or give them to friends. Don’t let them sit around and dry out. Fresh spiderettes root much better than old, dried ones.
Common Spider Plant Pruning Mistakes to Avoid
Even experienced plant owners make these mistakes, so watch out for them as you care for your plant.
- Cutting only the brown parts: Many people just snip off brown tips with scissors. This leaves a cut edge that turns brown again quickly. The leaf still looks bad, and you waste time on repeated trimming. Instead, remove the entire leaf at its base.
- Using dull or dirty tools: Dull scissors crush the plant tissue instead of making clean cuts. This damage takes longer to heal and can let in disease. Dirty tools spread problems from one plant to another. Always use sharp, clean scissors or shears.
- Removing too much or too little: Taking off more than one-third of your plant at once shocks it and slows growth. On the other hand, leaving too many damaged leaves wastes the plant’s energy.
- Forgetting about the roots: Sometimes brown leaves mean your plant has root problems, not just leaf issues. If your plant sits in soggy soil or has roots coming out of the drainage holes, pruning leaves won’t fix the real problem.
- Not fixing water quality: You can trim brown tips forever, but they’ll keep coming back if you use bad water. If you keep seeing brown tips after pruning, look at your water source. Switching to distilled water or letting tap water sit out makes a big difference.
Conclusion
Cutting back your spider plant is really a simple and easy job. You have already learned how to eliminate the damaged leaves, trim the overgrowth. With each cut, you are helping your plant to focus its energy on healthy growth.
Do not forget to use clean, sharp tools and to cut the leaves at the most basal part. Also, try to avoid brown tips by keeping an eye on the quality of your water and your light levels. These easy steps will keep your plant in the best shape all year long.
Your spider plant is very strong, and it is also quite forgiving. After pruning, it will revive and give you fresh green growth. Just a few minutes every month will suffice to check your plant and to trim it if necessary.
Frequently Asked Questions
How often should I prune my spider plant?
Prune your spider plant every 2-3 months during the growing season. Remove damaged leaves anytime you see them. If your plant grows many baby plants, trim them monthly. Regular light pruning works better than heavy cutting once a year.
Can I propagate the spiderettes I remove?
Yes, you can easily grow new plants from spiderettes. Place the baby plants in water until the roots grow about 2 inches long. Then plant them in the soil. You can also plant them directly in moist soil. Keep the soil damp until the new plant establishes. Most spiderettes root within 2-3 weeks.
Will pruning hurt my spider plant?
No, pruning helps your spider plant stay healthy. These plants are very tough and recover quickly from cuts. Removing damaged parts and excess growth makes your plant stronger. Just don’t remove more than one-third of the plant at once.
What tools do I need to prune a spider plant?
You only need clean, sharp scissors or pruning shears. Small kitchen scissors work fine for most pruning jobs. Keep rubbing alcohol handy to clean your tools before and after use. Some people prefer small pruning shears for thicker stems. Sharp tools make cleaner cuts that heal faster.
Why does my spider plant keep getting brown tips after pruning?
Brown tips usually come from water quality, not pruning problems. Tap water chemicals, low humidity, or too much direct sun cause this issue. Switch to distilled water or rainwater. Move your plant away from harsh sunlight.